Showing posts with label chocolate. Show all posts

Friday, 20 December 2013

Homemade Christmas in a box.

This week was my final one before Christmas and I wanted to make the guys I work with a special treat to go with their Christmas cards. Last year I made homemade truffles which went down extremely well, so this year I wanted to do something that would hopefully be equally as popular but due to limited time something that was quick and easy too. 

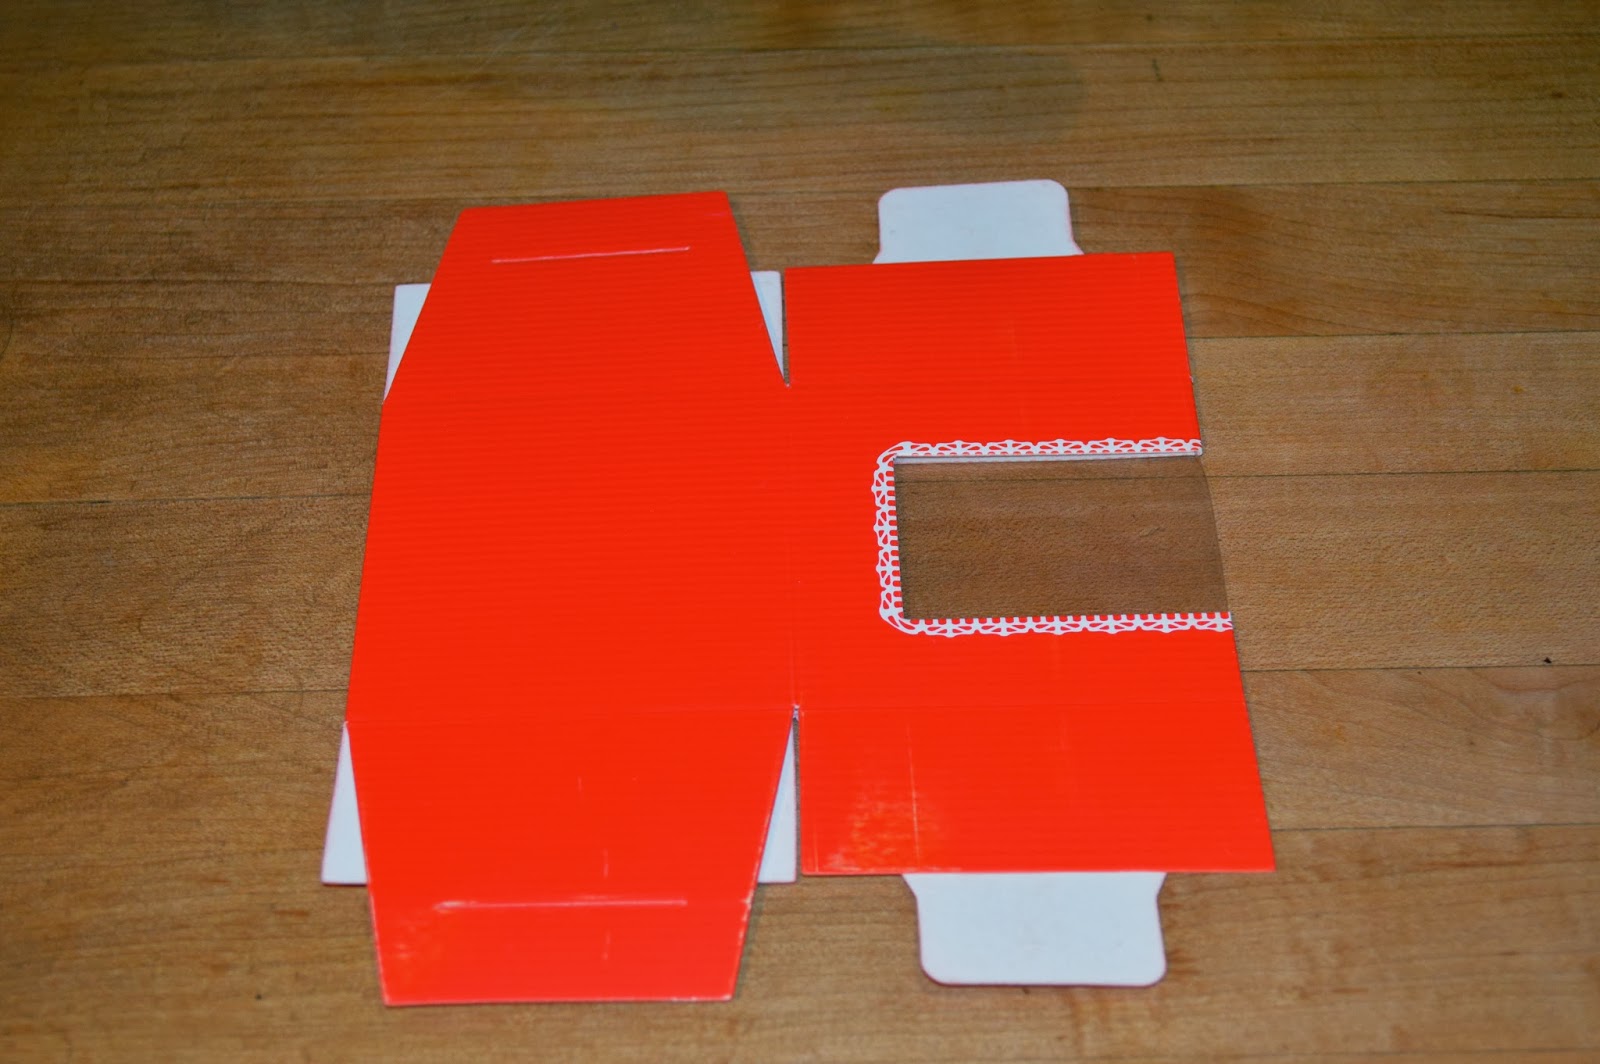
I bought some bright red flat pack boxes from a local craft store to display them in and set to my chocolaty task. 


What you need:
300g Milk / Dark chocolate
100g shelled pistachios
70g dried cranberries
100g White chocolate
3 Crunchie bars

Equipment: 
A high sided baking tray about 13cm / 23cm. 
(So long as it's square / rectangular it doesn't really matter!)
Foil or greaseproof paper


The method:

  • Break all the chocolate up and put to the side (milk and white in separate bowls)
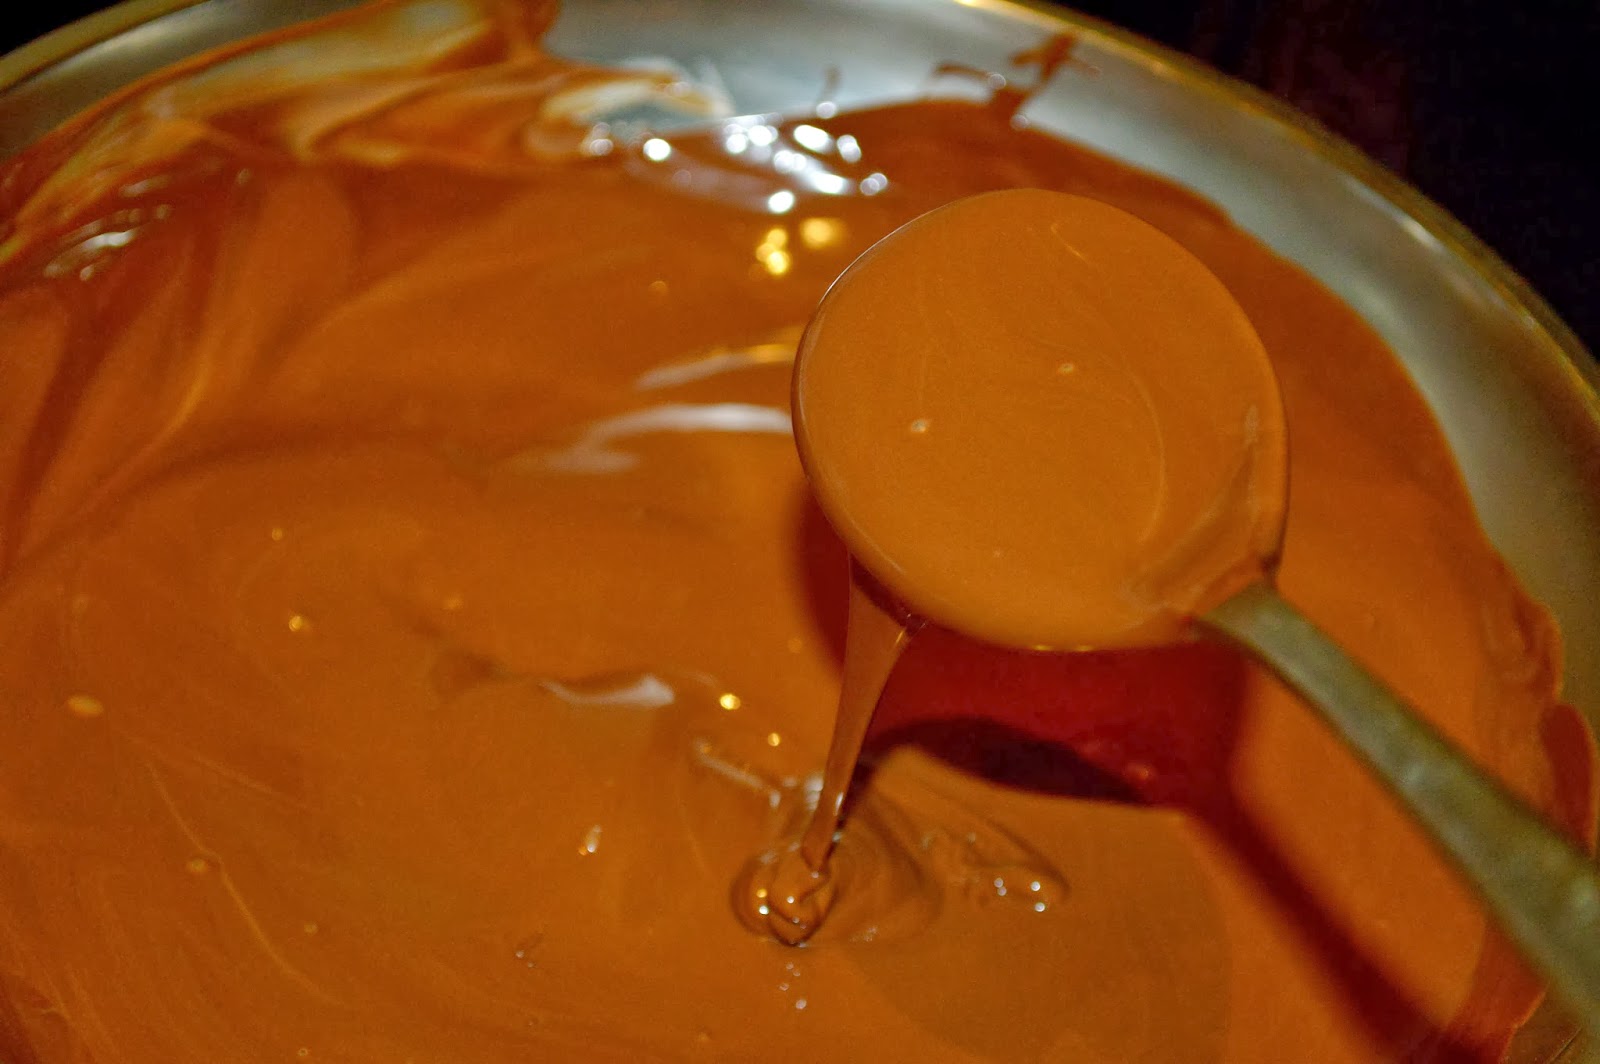
  • Place the milk/dark chocolate pieces in a heatproof bowl set over a saucepan of water. Heat the water to boiling, then remove from the heat and allow the chocolate to melt slowly- stirring from time to time


  • While the chocolate's still melting line the tin with grease proof paper or tin foil
  • When the chocolate has melted, stir in the pistachios, crunchie and cranberries
  • Pour in to the lined tin and allow to cool in the fridge


Whilst my chocolate was cooling in the fridge I set up my flat pack gift boxes and lined them all with a square of foil.


  • Melt the white chocolate in the same way in a separate bowl
  • When the milk/dark chocolate has almost set (but be sure not to let it set completely, or the top layer of chocolate will not stick to the milk/dark chocolate)


  • Pour the white chocolate over the top to make a second layer. Try to manoeuvre it by picking the tray up and tipping it from side to side rather than using a spatular to try and even it out as (my mistake) it can mix with any chocolate that hasn't quite cooled.


  • Add to the top any last bits of crunchie. 
  • Place in the fridge for a few hours until completely set 


  • Cut into bite-size squares/ rectangles and enjoy! 


I placed a few chocolates each in to the individual boxes and then used some blue ribbon I found to complete the decoration. 


... and fortunately they went down extremely well, most boxes had been polished off before 9:30am!


Have you made any homemade treats for friends/ family this Christmas?

5 days to go! 

Emi x 

Thursday, 18 July 2013

All the naughty things in one pud!


A few weeks overdue, but well worth a read!

Having not been well all of Saturday and missed out on my dear friend Lara's birthday tea at Sketch which I was most upset about, I thought I would comfort myself and my fellow Sunday lunch guests with a slightly adapted "Mary Berry's Chocolate Roulade" with a white chocolate cream topping and homemade blackberry coolie. 


Personally I do think that if you are making a heavy- ish pudding complete with a lot of cake and creamy goodness you should really indulge your body in one - at least- of it's five a day. A great way to hide the heaviness of a pudding I find is to add a fruity sidekick to it- whether it's a few pieces of fruit or even a coolie. I also find that I then eat a little less too. 
What you will need: 
  • 175g/6oz good-quality dark chocolate, finely chopped
  • 6 free-range eggs, separated
  • 175g/6oz caster sugar
  • 2 tbsp cocoa powder
  • 300ml/10fl oz double cream
  • icing sugar
  • cream cheese
  • 50 g butter
  • flaked almonds to be toasted
  • blackberry's or any other fruit you desire
First I do recommend that you prepare yourself well, this pud needs precision and timing or else you will inevitably meet with failure. (which I may have met on my first attempt ! )
What you do:
  • Preheat the oven to 180C/160 Fan/Gas 4. Lightly grease a 33cm x 23cm/13in x 9in Swiss roll tin then line the base and sides of the tin with a large sheet of greaseproof paper, pushing it into the corners. Make a small diagonal snip in each corner of the paper; this helps to fit the paper snugly into the corners of the tin. I didn't have a tin so I just spread the mixture (once ready straight on to a greaseproof sheet to size). Once cooked I then cut it down.
  • Melt the chocolate in a bowl set over a pan of barely simmering water. (Do not let the base of the bowl touch the water.)
  • Place the egg whites in a large bowl and whisk until stiff but not dry. If you turn the bowl upside down, the whites should be stiff enough not to fall out


Tip for separating egg yolks. Use an empty (clean) plastic bottle. Over the bowl of eggs place the bottle opening over a yolk and press the air out of the bottle slightly and then release and it will suck the egg straight in- leaving the white behind! It's actually quite fun once you get going......


  • Put the egg yolks in a separate bowl with the sugar and whisk using the same whisk on high speed for 2-3 minutes or until thick and creamy and the mixture leaves a thick ribbon-like trail when the beaters are lifted. Pour in the cooled chocolate and gently fold together until well combined.
  • Gently stir two large spoonfuls of the egg whites into the chocolate mixture to loosen the mix, then fold in the remaining egg whites using a large metal spoon (you don’t want to squash out the air you have just beaten in). Sift the cocoa over the top and lightly fold it in. Pour the mixture into the prepared tin and gently move the tin around until the mixture is level.
  • Bake in the preheated oven for about 20-25 minutes until risen and the top feels firm and slightly crisp. Remove from the oven, leave in the tin (expect the roulade to fall and crack a little) and set aside until cold.
  • Whip the cream until it just holds its shape. Lay a large piece of greaseproof paper on the work surface and dust it lightly with icing sugar. Turn the roulade out on to the paper so its lining paper is on top, then carefully peel off the paper. Spread the roulade with the whipped cream, leaving a border of about 2cm/¾in all the way around the edges. With one of the shortest edges facing you, make a cut along it with a sharp knife, going about half way through the sponge. This will help to start the rolling up. Now roll this cut edge over tightly to start with and use the paper to help continue the tight rolling, by pulling it away from you as you roll. Don’t worry if the roulade cracks - that is quite normal and all part of its charm.
  • Finish with the join underneath then lift the roulade onto a serving plate or board using a large wide spatula or two fish slices.


Topping
For the topping I made a white chocolate cream cheese frosting with toasted almonds, flaked chocolate and blackberry's.

  • 50g (2 oz) white chocolate
  • 1 (200g) tub cream cheese, softened
  • 100g (4 oz) unsalted butter, softened
  • 500g (1 1/4 lb) icing sugar   (more if it's too runny)

  • What you do:
    • In small saucepan, melt white chocolate over low heat. Stir until smooth, and allow to cool to room temperature.
    • In a bowl, beat together the cream cheese and butter until smooth. Mix in white chocolate. Gradually beat in the icing sugar until the mixture is fluffy.
    • Toast almonds over light heat (no oil) in a frying pan or work and decorate to your taste.
    • I also sprinkled some dark choc chips and lined blackberries down the middle


    For the coolie
    • In a pan on high heat, place a punnet of blackberries and 200g sugar.
    • Start stirring and breaking the blackberries down.
    • Add 5tbsps water and turn on to lower heat
    • Use a potato masher to break down the blackberries, which should be softening
    • Leave to simmer for 5 minutes on low heat
    • Set asside until cool- put in the fridge if you can for an hr or more before serving. Add some mint leaves before you put in the fridge for added refreshing taste.


    Sunday, 6 January 2013

    Welcoming 2013 with 3 delicious dishes!


    Only three days back in to the commuter barging, 9 - 5  rat race my body is well and truly pooped and definitely ready for another holiday and more feasting. However, no matter how much I long for the wood burning stove, the fresh country air and the peace and tranquillity of "no work" I am back in it now until our next trip (which we are planning already!).

    So, after a long lie in on Saturday morning followed by a hearty bowl of porridge we set to a long day of "spring cleaning", baking and making! 

    The first thing on my list that I have been wanting to do for ages was a batch of cheddar and spring onion scones. A great starter or accompaniment for any soup and the great thing about them is that there are only 3 MAIN ingredients and you can add whatever you want to them! 
    I was particularly excited to trial these as I got to try out my gorgeous new Christmas present, a Kenwood Patissier  . 

    To create these scrumptious scones you don't necessarily need a Stand Mixer and can of course do it all by hand, but if you do have one, it saves all the heavy mixing and extra kneading you will have to do. 


    What you will need:
    350g Self-raising flour, sifted
    1 1/2 tsps baking powder
    Pinch of salt
    75g butter, at room temperature
    2 Spring Onions, finely chopped
    200g Strong mature cheddar cheese
    1 egg
    150ml milk

    Makes about 12-14 scones
    Preparation time: 15 minutes
    Cooking time: 15 minutes (about)


    To make:
    • Preheat the oven to 200degrees / Gas mark 7. Place the flour, baking powder, salt and butter in the bowl. If you have a Stand Mixer, fit the dough hook and knead on Speed 1 for about 1 -1.5 mins until well combined. If you don't have a Stand Mixer then with a wooden spoon keep mixing the mixture until fully combined for about 3-5 minutes. 


    • Add the remaining ingredients and continue to knead on Speed 1 for 1 minute, until well combined and forms a soft dough.

    • Without the mixture, add the remaining ingredients and mix until well combined. 


    • Turn the mixture out on to a floured surface and knead lightly. Roll out with a rolling pin to 1 cm thick. Using a cutter (entirely up to you on size, I used a 6cm round cutter), cut out 12-14 circles. Place on a lightly floured baking sheet well spaced apart and bake for 10-15 minutes until well risen and golden. Serve warm with butter / chutney's/ hummus. . . what every your tummy desires.


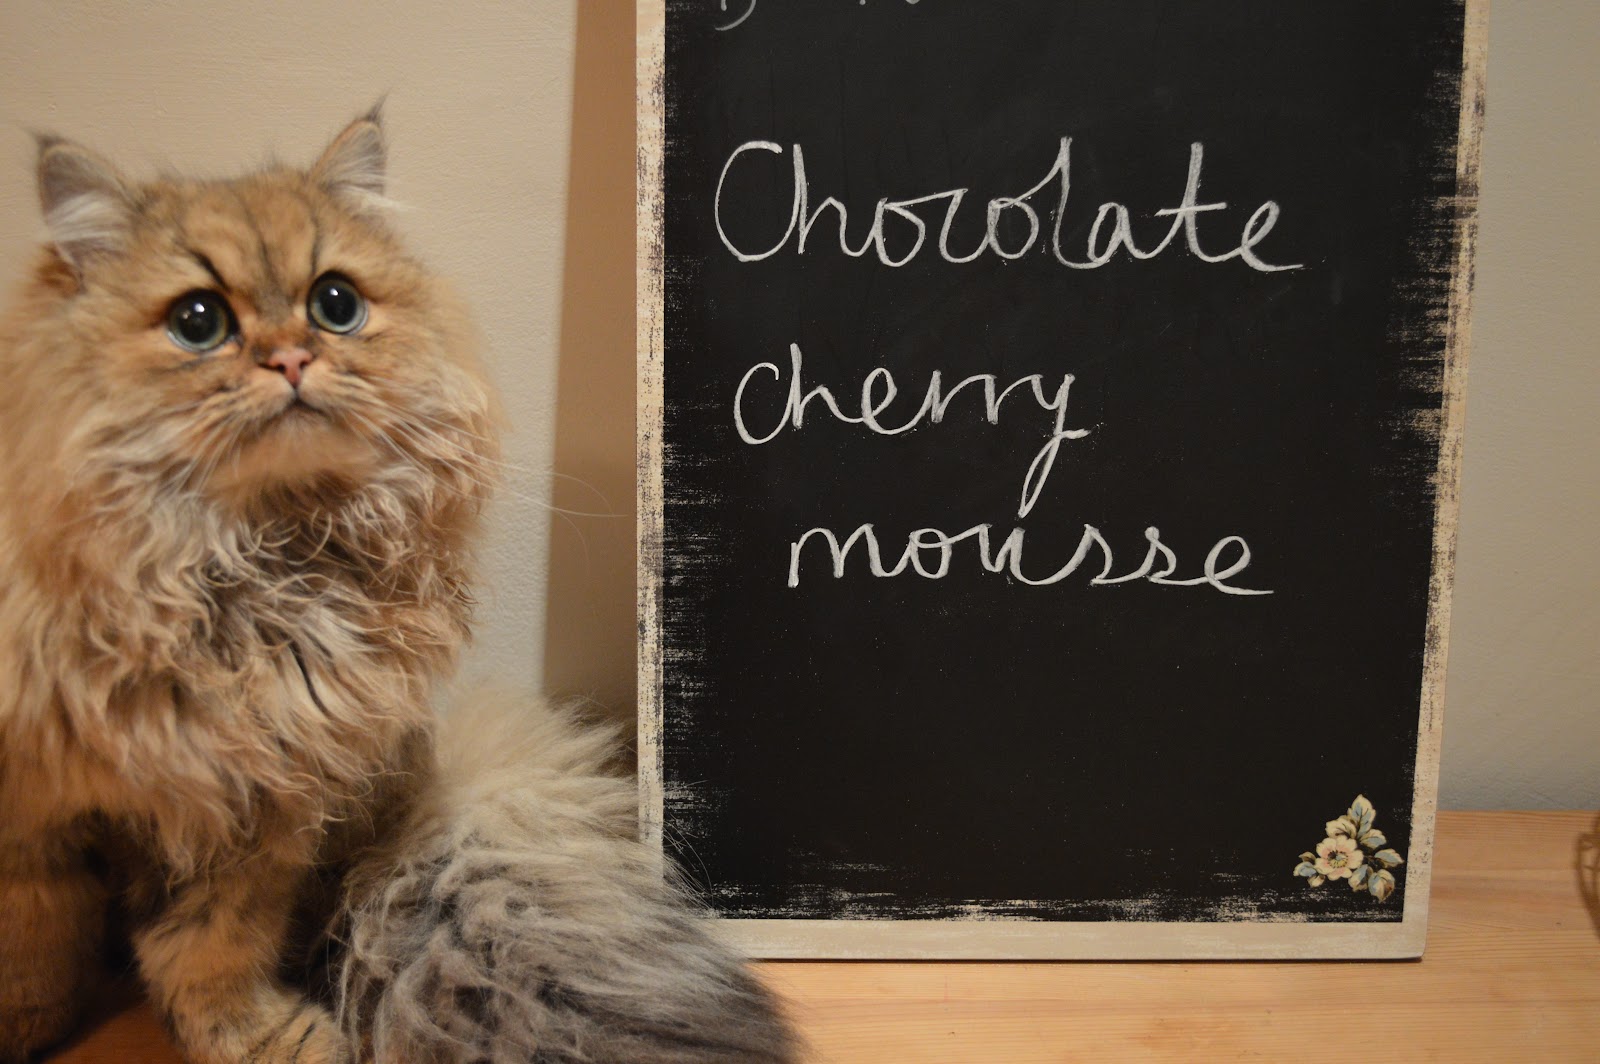
    So having washed up my rather messy kitchen, I set to my second task, Cherry Cream and Chocolate Mousse, a Hugh Fearnley-Whittingstall special in his new recipe book Three Good Things. Now, I think you will all know by now that I adore chocolate and this recipe does not fail to impress ticking all the boxes with it's sweet, velvety texture mixed with the sweet succulence of the cherries and light fluffiness of the whipped cream. Are you ready for it? 

    Here goes!

    What you will need to serve 4:


    500g ripe cherries, halved and stoned
    25g caster sugar

    For the chocolate mousse:
    150g dark chocolate, broken into small cubes ( I used 1/2 bar 74% chocolate and 1 bar swiss plain orange chocolate with almond pieces)
    3 large eggs, separated 
    20 g caster sugar

    To finish:
    200 ml double cream

    To make:
    • Put the cherries into a pan with the sugar. Cook over a very gentle heat, stirring occasionally, for a few minutes until the cherries are starting to soften and release some of their deep red juices. Set aside to cool.


    • To make the mousse, put the chocolate and butter into a heatproof bowl and place over a pan of barely simmering water. Leave to melt, stirring once or twice. Set aside to cool a little, then stir in the egg yolks.


    • In a large, clean bowl, whisk the egg whites with the sugar for a few minutes, until they form a soft meringue. Fold this into the chocolate mixture. Spoon into glasses and chill for an hour or so. 

    • Lightly whip the cream until it just holds soft peaks. Put a dollop of cream on each mousse, add the cherries and serve.
    SWAPS: Instead of poached cherries, use fresh strawberries- hulled, thickly sliced and briefly tossed in a little caster sugar. Or raspberries, again with a sprinkling of caster sugar, and very lightly crushed until the juices run. 


    Finally for our Saturday night supper to go with the scones, I made a Chilli chorizo and mixed bean soup. A perfect winter warmer, and it's a cheap one too! 


    What you need: (to make for 4)

    1 red onion, finely chopped
    1 red pepper, finely chopped
    1 clove of crushed garlic
    200g chorizo, diced
    1 red chilli, finely chopped and de-seeded
    1 can of chopped tomatoes 
    1 can of mixed beans in water
    1 cube chicken stock
    2 pints water

    To make:
    • Sweat off the onion, chilli, pepper, garlic and chorizo until soft
    • Add the mixed beans (drained) and cook for a further two minutes
    • Add the dissolved chicken stock (added to the 2 pints of water)and the tin of tomatoes. Bring to the boil and then simmer for 20 minutes, or longer, if you can wait! 

    A delicious home-made feast for a quiet Saturday night in, eating and watching a film, bliss!